
Micro:Bit6-12 years
Medium
90 Minutes
LIVE
Loading...3D Printed Mini Catapult
Bilal Şentürk
Maker
What You'll Need
- Catapult 3D printed
- Micro:bit v2
- 9 g mini servo motor
- Micro:bit servo expension card
- 10 × 10 cm wood or acrylic base plate
- Lightweight ammo (pompom, LEGO brick, bean etc.)
3D Printed Mini Catapult
Get all the materials you need for this project in one package!
Includes:
 Catapult 3D printed
 Micro:bit v2
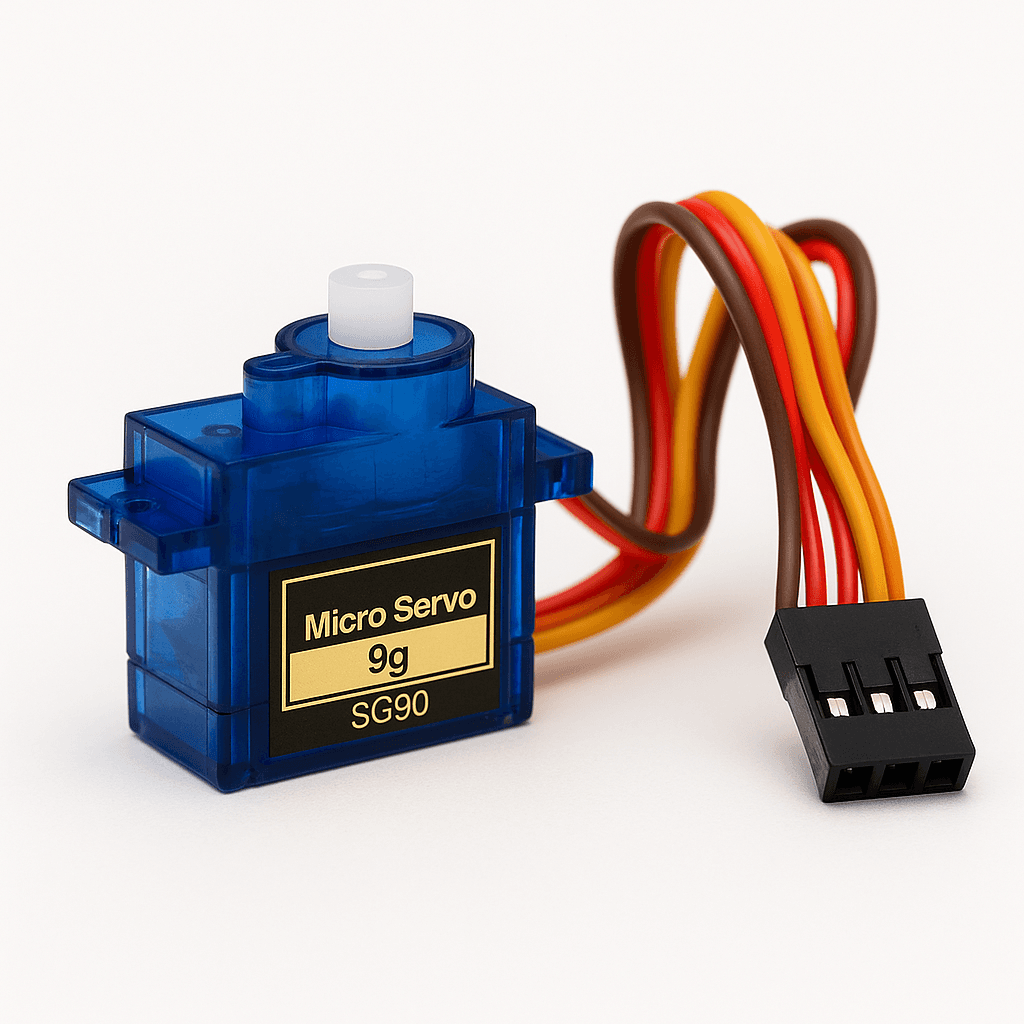 9 g mini servo motor
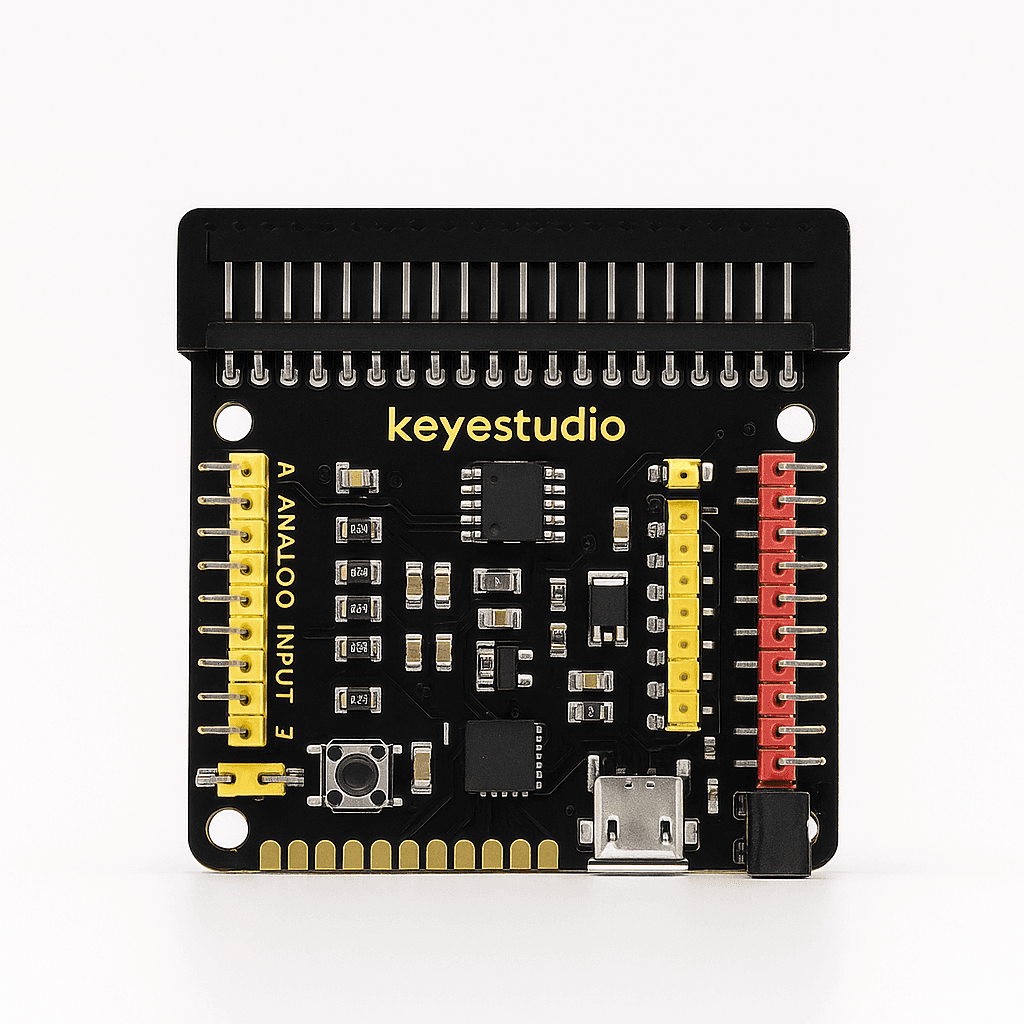 Micro:bit servo expension card
 10 × 10 cm wood or acrylic base plate
 Lightweight ammo (pompom, LEGO brick, bean etc.)
All materials in one package!
0.0/5(0 reviews)Verified reviews
Free Shipping✓
Fast delivery5 days
Return guarantee30 days
In stock
Limited offer!
SSL
Visa/MC
Secure
Let's Make It! Step-by-Step Guide

• Download the STL pack —or model your own catapult in Tinkercad or Fusion 360.
• Slice at 0.2 mm layer height, 15 % infill; orient parts so no supports are needed.
• Print the pieces, remove any stringing, and lightly sand the hinge pin so it rotates smoothly.
The Science Behind It
The catapult is a first-class lever: by comparing the effort arm (servo side) and load arm (scoop side) kids see mechanical advantage in action. PWM control of the servo introduces angular speed and inertia, letting learners experiment with the classic projectile-motion trio—angle, force and mass. Collecting range data, graphing results and refining the design turns playful launches into a mini engineering cycle.
Helpful Tips
- Hollow out the arm in CAD to lighten the servo load.
- If torque is low, shorten the arm or add a rubber-band assist.
- Add set volume 255 + a “cheer” sound block for crowd-pleasing hits.
- Stick a metric ruler on the baseboard for instant range measurement.
- Paint each part a different colour so younger builders can match shapes easily.
Try These Variations!
- 1Elastic-Only Mode – Remove the servo, power the arm with a rubber band.
- 2Dual-Shot – Two servos, twin scoops, alternating fire!
- 3Target Tournament – Print scoring rings and host a family contest.
- 4Glow-in-the-Dark – Use phosphorescent filament for night launches.